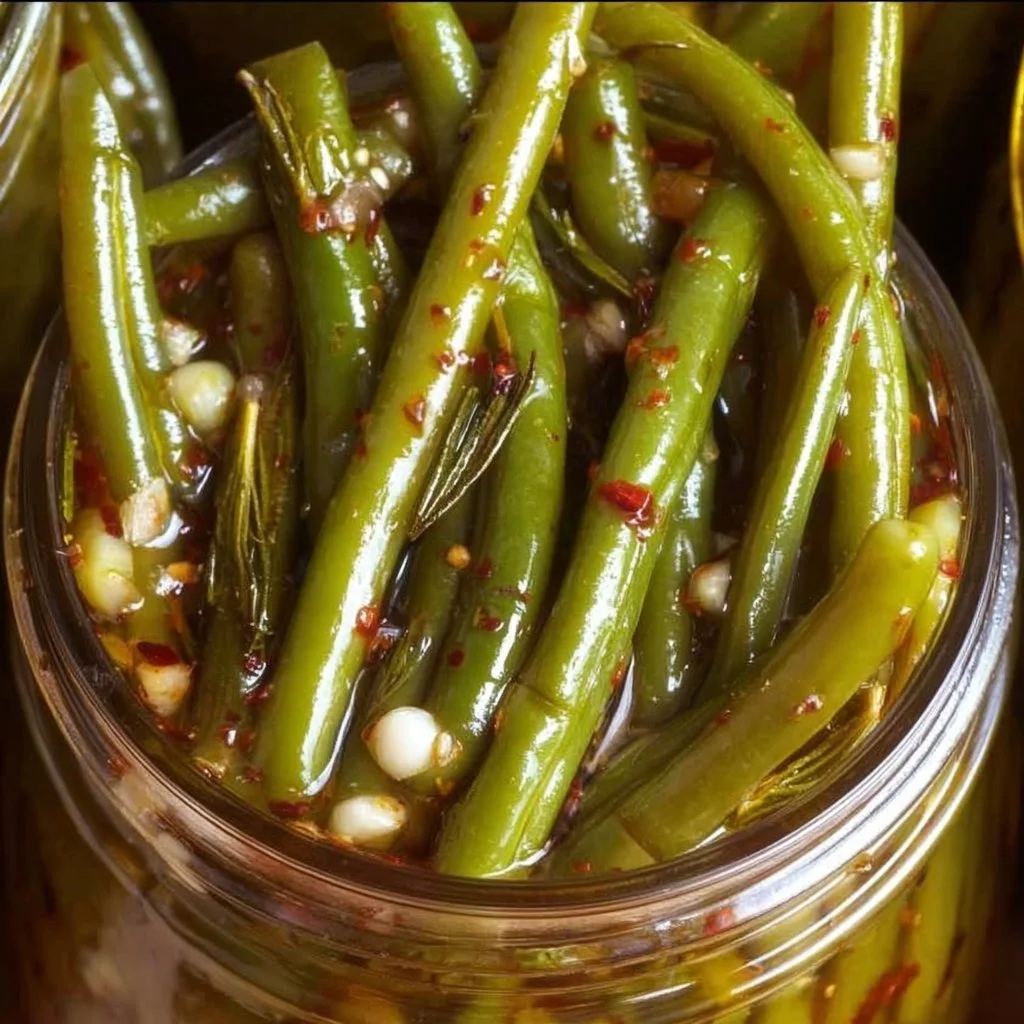
Zesty Garlic Green Beans: The Ultimate Pickle Experience
Ever tasted green beans that are so good you’ll want to pickle your entire garden?
These Zesty Garlic Green Beans are not just side dishes; they’re the life of the party on your dinner table! Packed with punchy garlic, a hint of heat, and a delightful crunch, they make your taste buds dance. Plus, you’ll love how simple and quick they are to whip up. Whether you’re a kitchen novice or a pro, this pickle experience will have you coming back for more!
Why make this recipe
Let’s be honest: who doesn’t appreciate a recipe that’s quick, healthy, and looks fabulous?
- Easy Cleanup: One pan is all you need! Less mess means more time enjoying your delicious creation.
- Budget-friendly: Green beans are usually an affordable ingredient and you can easily adjust the recipe for more or less, depending on your crowd.
- Family-friendly: Kids love the crunch, and they won’t even realize they’re eating something healthy! Win-win!
Ingredients
You don’t need fancy stuff — just these basics!
- 4 to 5 pounds green beans, washed and trimmed to fit pint jars
- 6 cups white vinegar or apple cider vinegar
- 3 cups water
- 3/4 cup granulated sugar
- 3 tablespoons pickling spice (store-bought or homemade)
- 1 tablespoon pickling salt or pure fine sea salt
- 14 garlic cloves, peeled and cut in half
- 1/8 teaspoon red pepper flakes for each jar, or to taste
Directions
-
Prepare your canning equipment by washing 7 pint-sized jars and lids in hot, soapy water. Keep the jars hot until ready to fill if you’re aiming for shelf-stable pickles.
-
Trim the green beans to fit upright in your jars with about 1/2 inch of headspace.
-
Combine the vinegar, water, sugar, pickling spice, and salt in a large saucepan. Bring to a rolling boil over medium-high heat, stirring occasionally to dissolve everything perfectly.
-
Pack the beans vertically into the prepared jars, leaving that crucial 1/2 inch of headspace. Add 2 garlic clove halves and 1/8 teaspoon of red pepper flakes to each jar.
-
Pour the hot brine over the beans, covering them completely while maintaining that headspace.
-
Remove air bubbles by gently sliding a non-metallic utensil between the beans and the jar sides.
-
Wipe the jar rims clean with a damp cloth, then apply the lids and rings, tightening to fingertip tightness.
-
For shelf-stable pickles, process in a boiling water bath for 10 minutes. For refrigerator pickles, simply allow jars to cool before refrigerating.
How to make Zesty Garlic Green Beans: The Ultimate Pickle Experience (Overview)
Making these pickled green beans is as simple as 1-2-3… well, maybe more than that, but you get the idea!
- Jar Preparation: Start with clean jars because no one wants unwanted flavors!
- Trimming & Packing: Make the green beans fit perfectly while adding garlic and spice for that WOW factor.
- Brining Bliss: Combine ingredients and pour over beans—easy peasy!
Pro tip: Don’t skip removing air bubbles; it keeps your jars safe and your pickles pretty!
How to serve Zesty Garlic Green Beans: The Ultimate Pickle Experience
These vibrant green beans add a pop of color and crunch to any plate. They complement almost everything from grilled meats to hearty sandwiches. Serve them straight from the jar for a simple appetizer or toss them into salads for an extra zing. The aroma of garlic will have everyone asking, "What’s cooking?" 😋
How to store Zesty Garlic Green Beans: The Ultimate Pickle Experience
Your deliciously tangy pickles can hang out in the fridge for up to two weeks. If you’ve processed them in a water bath, they can be shelf-stable for several months. Just make sure to keep them cool, dark, and away from direct sunlight. When it’s time to enjoy them again, they’re ready to be munched right from the jar or used in a delightful recipe!
Tips to make Zesty Garlic Green Beans: The Ultimate Pickle Experience
- Use fresh beans: The fresher, the better. Look for bright green ones that are firm and crisp!
- Adjust the spice: If you like it hot, feel free to double the red pepper flakes.
- Experiment with flavors: Toss in a sprig of dill or mustard seeds for a unique twist.
Variation
Want some variety? Try switching out the garlic for shallots or adding a splash of lemon juice for a zestier bite. This recipe is versatile, so feel free to play with the spices or mix in some other veggies like carrots or radishes.
FAQs
1. Can I make these pickles vegan?
Absolutely! This recipe is naturally vegan since it only comprises vegetables and spices.
2. How long do these pickles last in the fridge?
If refrigerated, these zesty beans will stay fresh for about two weeks. If processed, they can last up to a year!
3. Can I freeze the pickled green beans?
Freezing is not recommended if you want to preserve their crispy texture. Stick to refrigeration for best results.
📌 Pin this recipe for your next cozy dinner night!

Zesty Garlic Green Beans
Ingredients
Method
- Prepare your canning equipment by washing 7 pint-sized jars and lids in hot, soapy water. Keep the jars hot until ready to fill.
- Trim the green beans to fit upright in your jars with about 1/2 inch of headspace.
- Combine the vinegar, water, sugar, pickling spice, and salt in a large saucepan. Bring to a rolling boil over medium-high heat, stirring occasionally.
- Pack the beans vertically into the prepared jars, leaving 1/2 inch of headspace. Add 2 garlic clove halves and 1/8 teaspoon of red pepper flakes to each jar.
- Pour the hot brine over the beans, covering them completely while maintaining that 1/2 inch headspace.
- Remove air bubbles by gently sliding a non-metallic utensil between the beans and the jar sides.
- Wipe the jar rims clean with a damp cloth, then apply the lids and rings, tightening to fingertip tightness.
- For shelf-stable pickles, process in a boiling water bath for 10 minutes. For refrigerator pickles, allow jars to cool before refrigerating.